Another take on: The Pfhor
A brief history of the model
The pfhor, the skinny slavers from the Marathon trilogy are the first creature that embarked me into the journey of 3d modeling. Back then in 2017, I "inherited" one of the models for a UE4 Marathon remake that... well, didn't go well; the model was for the Pfhor fighter. The initial version was prepared to work with standards from back then, ie. specular + diffuse + normal maps setup.
I got to keep the model with explicit permission from the guy that comissioned the model (made by Eugene Ivanov, kindly provided by Stefan Weckert). I tore that model apart more that once, got to learn from the source PSD included with it and basically I wouldn't be here if it wasn't for that model.
During the years, I have re-textured and kept up to date the model, you can even see a 3d preview of it here:
And even though I love this model, it ain't compatible with our project's current vision, which has set us to properly respect proportions for the characters of the original games.
The new one: planning

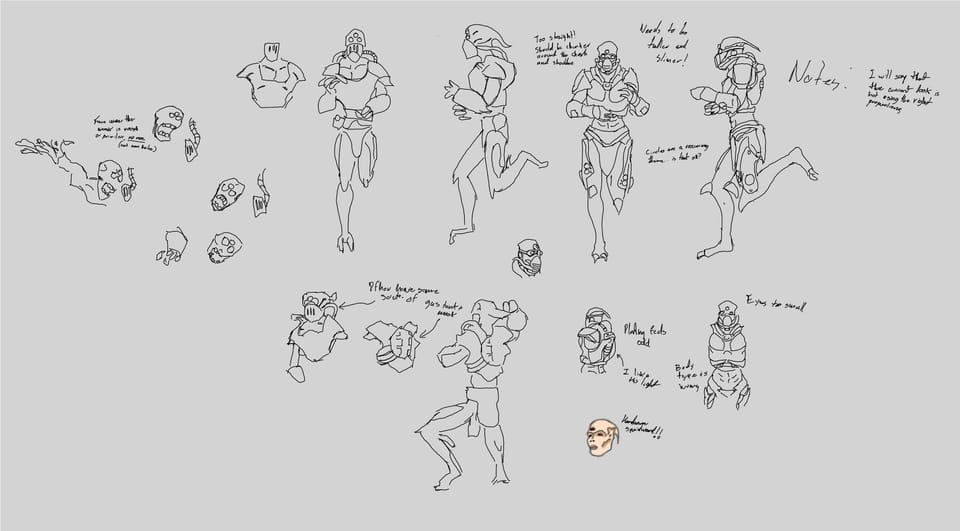
There were many things not right between the original and the current, namely proportions and details, but for fun, here's a list of what I noticed:
- Original is thinner, has a wasp like waist and has a bulky armor, but isn't bulk itself.
- Leg to chest ratio is wrong, our fighter had a ballanced ratio, like a human, but the original fighter was a bit more leg than body.
- Our pfhor had googles, uhh... cool at the moment, not cool now.
- Under the armor, our pfhor looks like a messed up human with a stone in their head, the og feels sillier and aliener.
So having that as a baseline, we had to A: find a style that feels alien and B: follow how the original looked.
The starting point would be the fallen from Destiny and the elites from Halo, specifically their armor and tech.
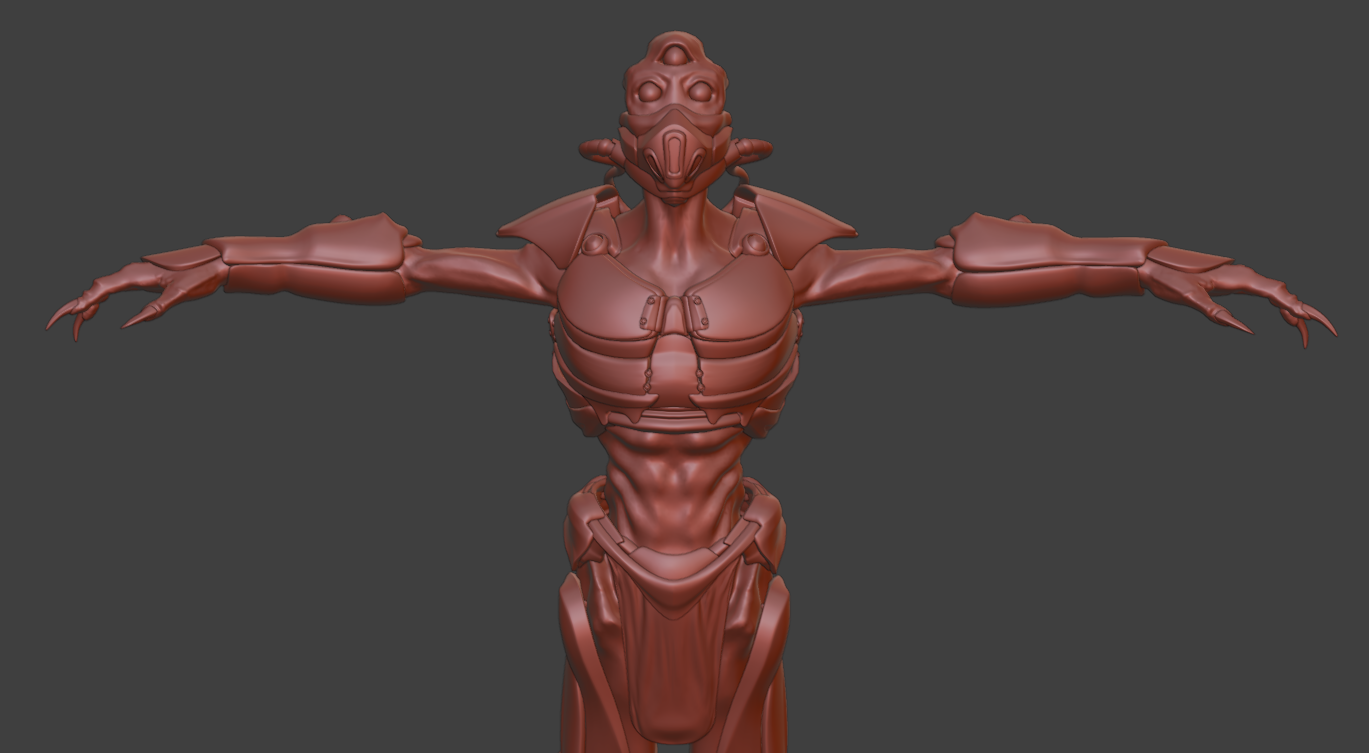
At the same time, I started re-sculpting the pfhor body, so to start getting a hold of the overall shape of what I wanted.

Working on the high poly
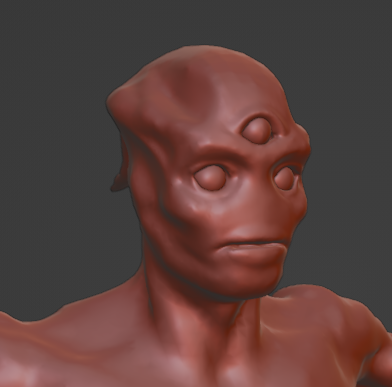
The first attempt at sculpting these guys was already going fine, but had a few issues, like them looking a bit... off? Their heads still felt like some dude on a silicon mask, so not good. Their body also felt muscular, though these are supposed to be bugs...
After looking at the reference images, I figured out something quite funny and quite helpful: Pfhor faces are flat.
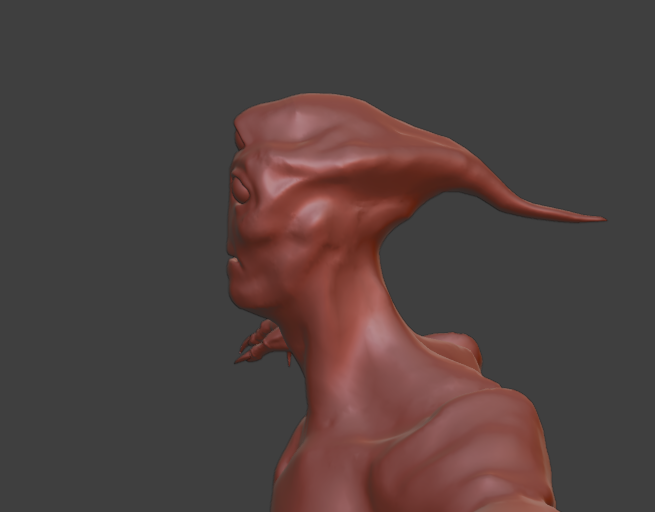
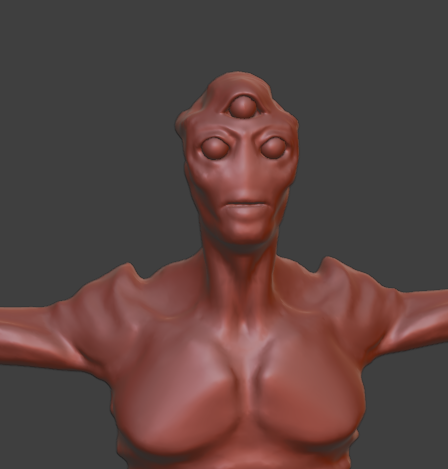
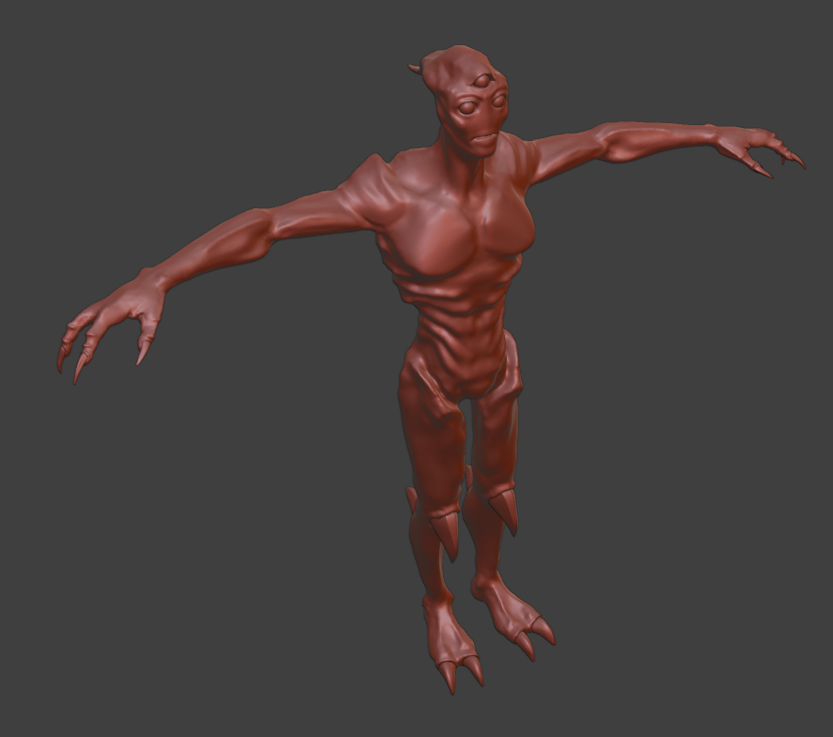
The final sculpt looks something like above.
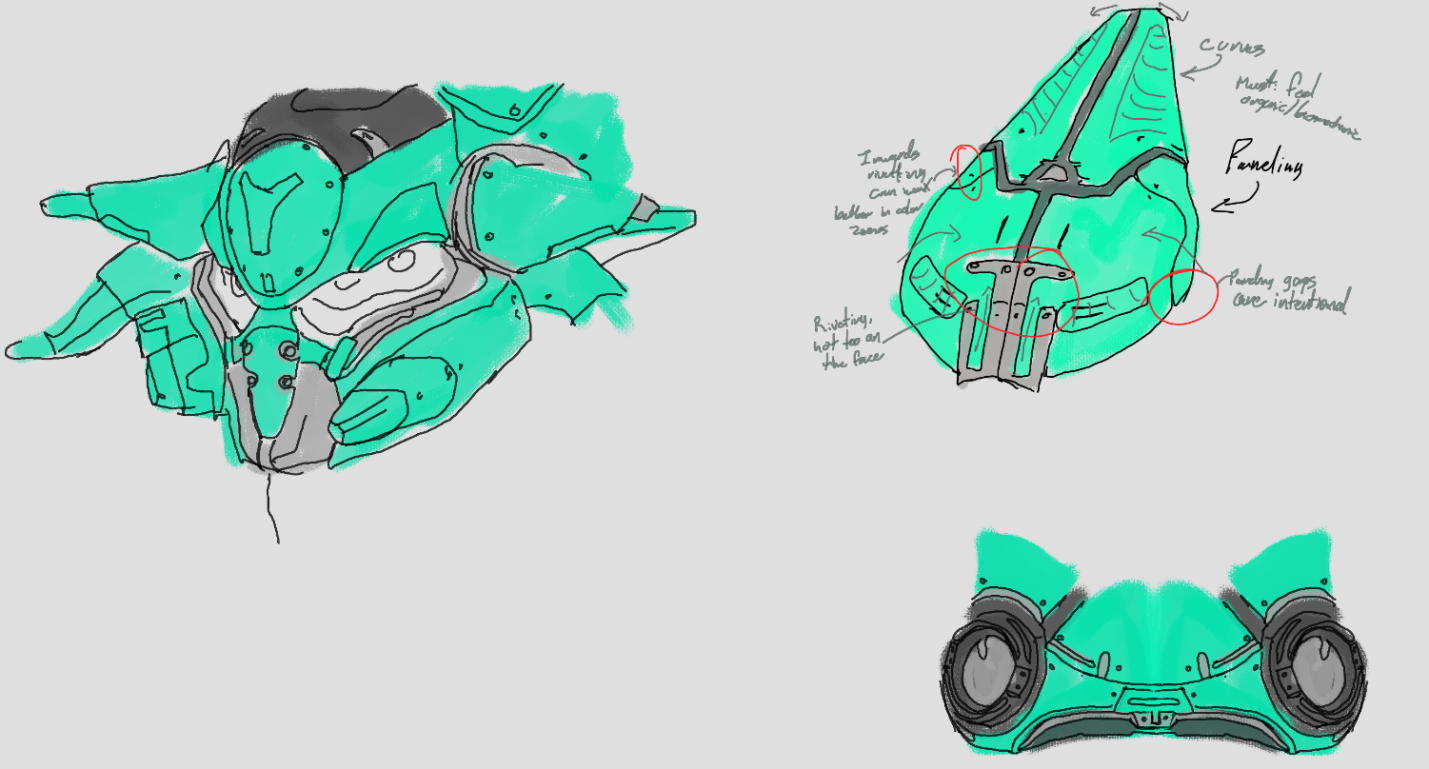
I started kitbashing the armor from the armor of the pfhor we already had, but knowing quite well that I'd have to adapt it to our current direction.
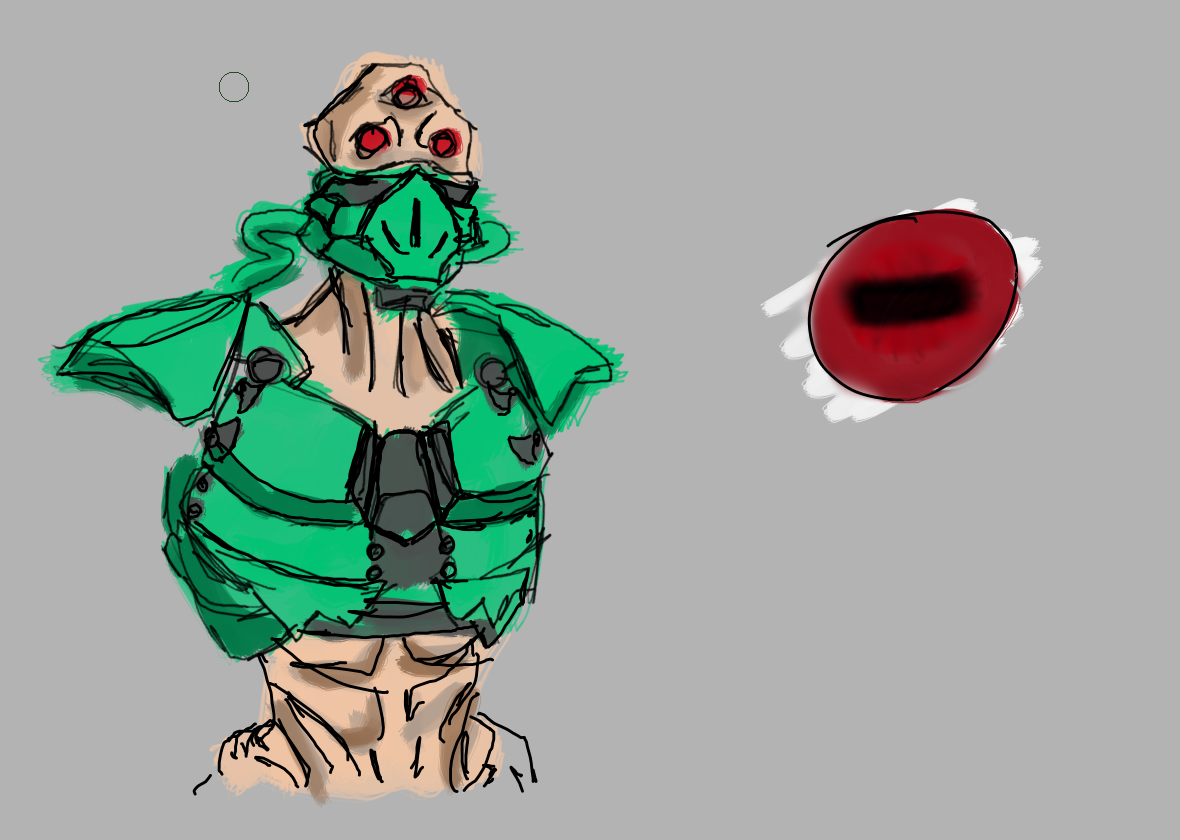
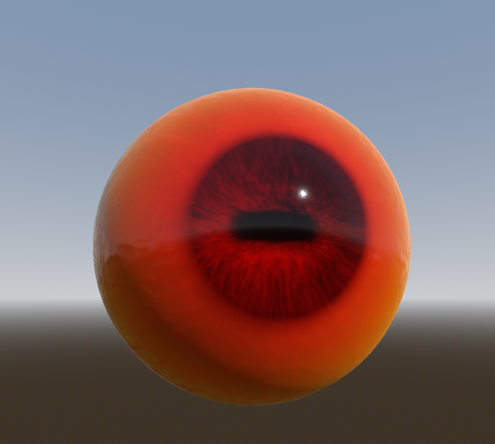
While making the character, I thought it'd be cool to make the pfhor eyes have something distinctive, so I took a bit of a liberty by taking Toth quite literally, so they now get goat eyes.
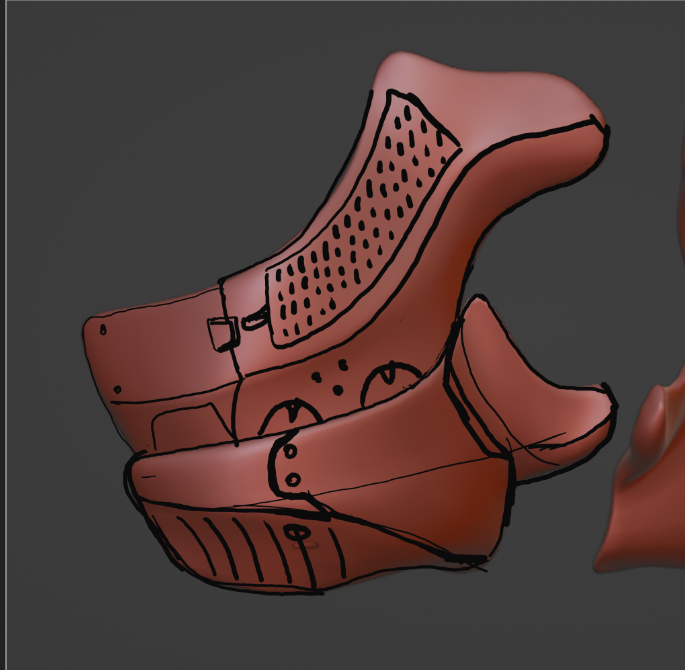
My workflow at this point is going back and forth, between kitbashing in 3d, drawing designs in affinity or krita and bringing it back to 3d
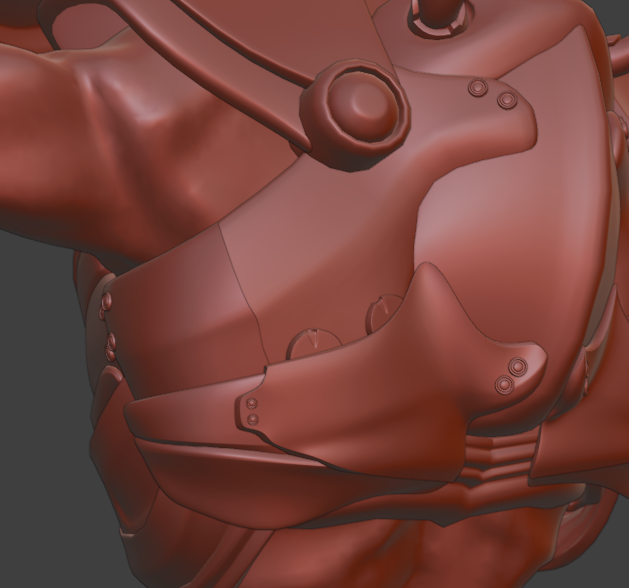
Once I had all major structures in place, it was the turn for detail sculpting, this ensures we get a highly detailed model even without a perfect topology to support it.
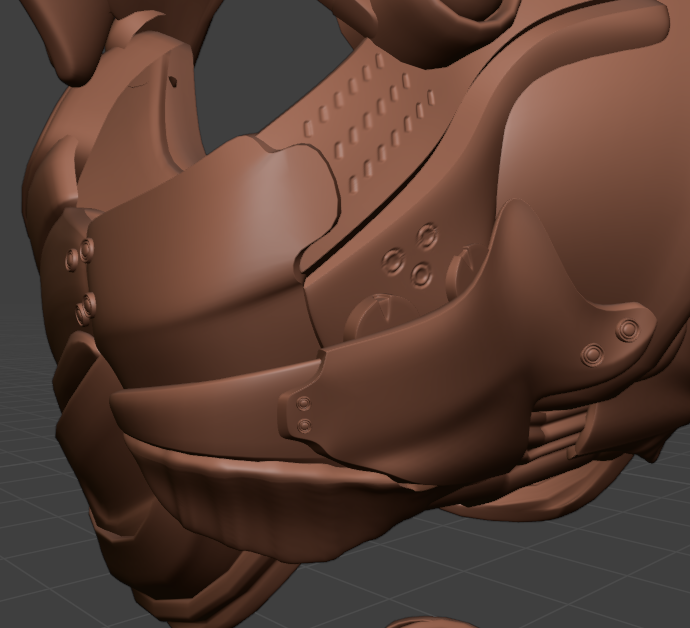
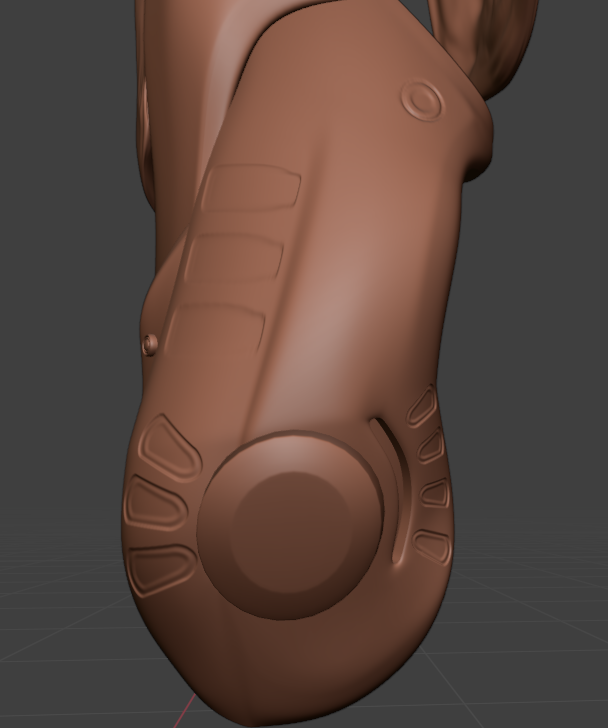
In all honesty, I didn't go too far with these details, and maybe I could've applied more or in different ways.
Tuning those polygons down
There are some other things I got to learn in this project, as Blender 5.0 released a random tuesday and I had curiosity for the new geometry node based modifiers. I found there's a way to do "Geometry input" in the new modifiers, which set to collections allowed me to avoid the greatest headache when doing game-ready retopo: Joining all the cutout shapes to finally create the retopo.
What I ended up doing was using this modifier to create proxys of all my armor collections, this way I can retopo over everything without complications.
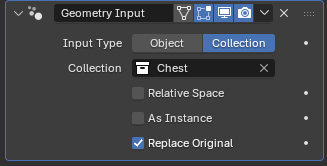
Proxies look and work exactly like you would expect them to, a big object made up of all the parts in a collection.
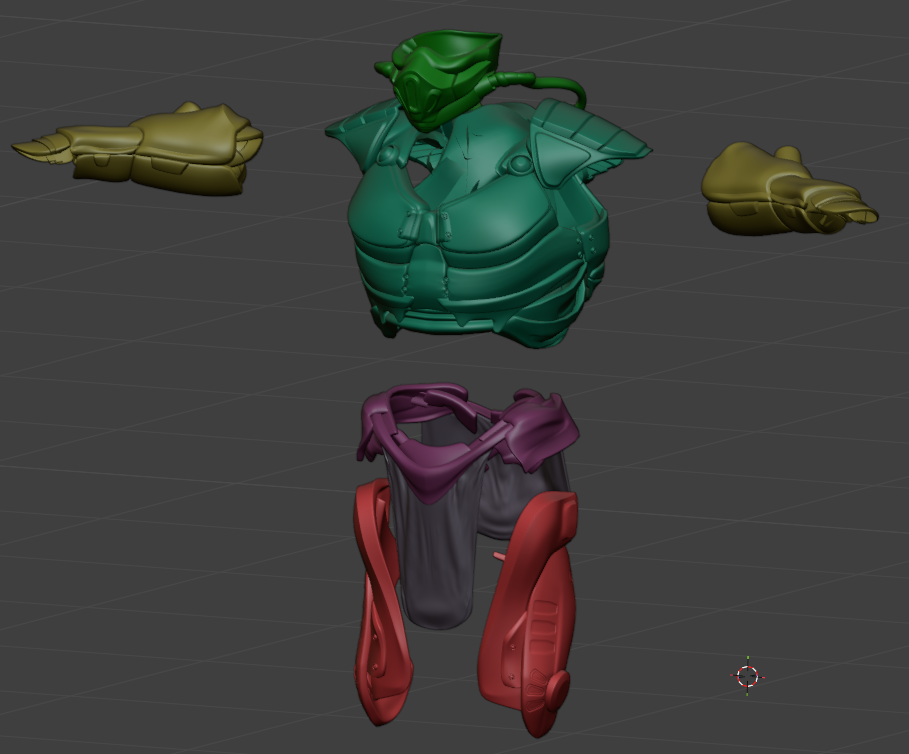
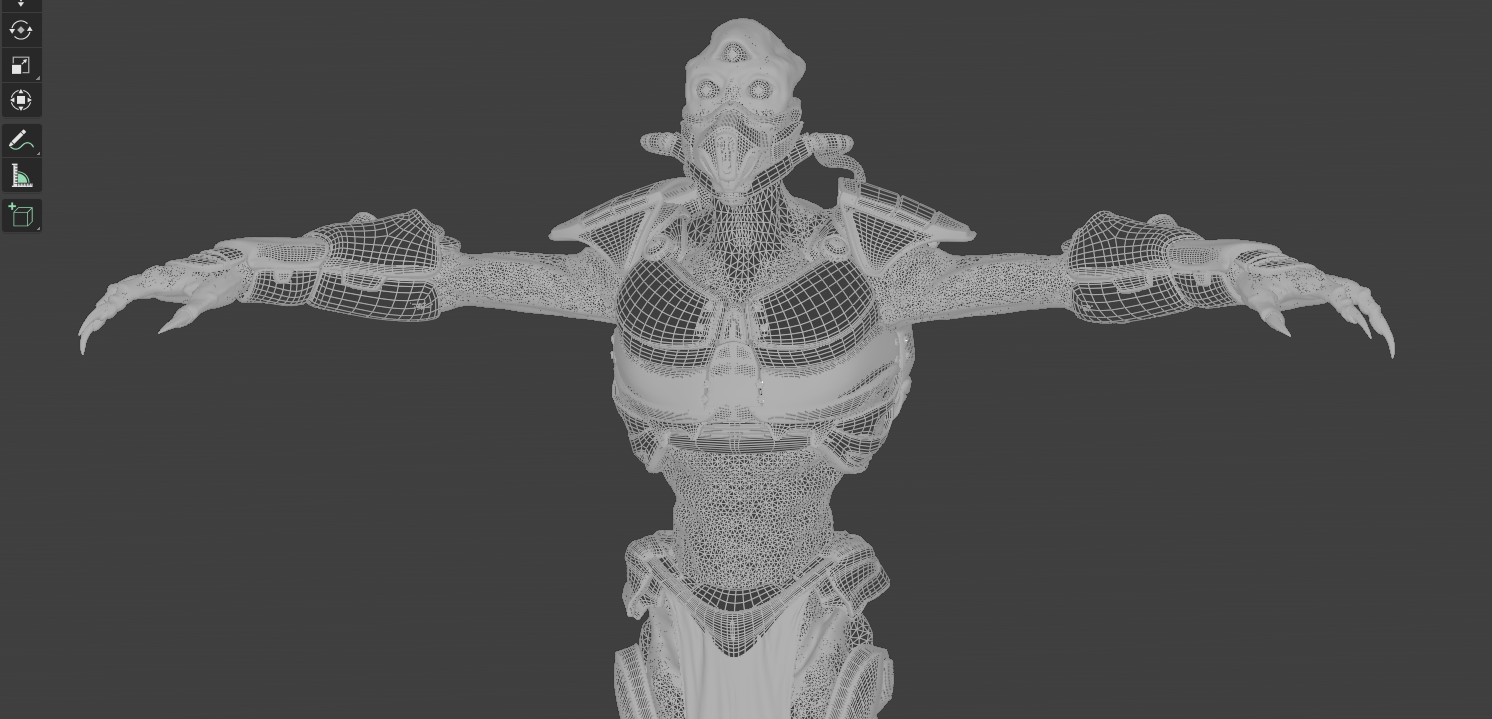
Finally we can use these proxies to retopo the whole thing, piece by piece, without messing up with the individual parts that make it up.
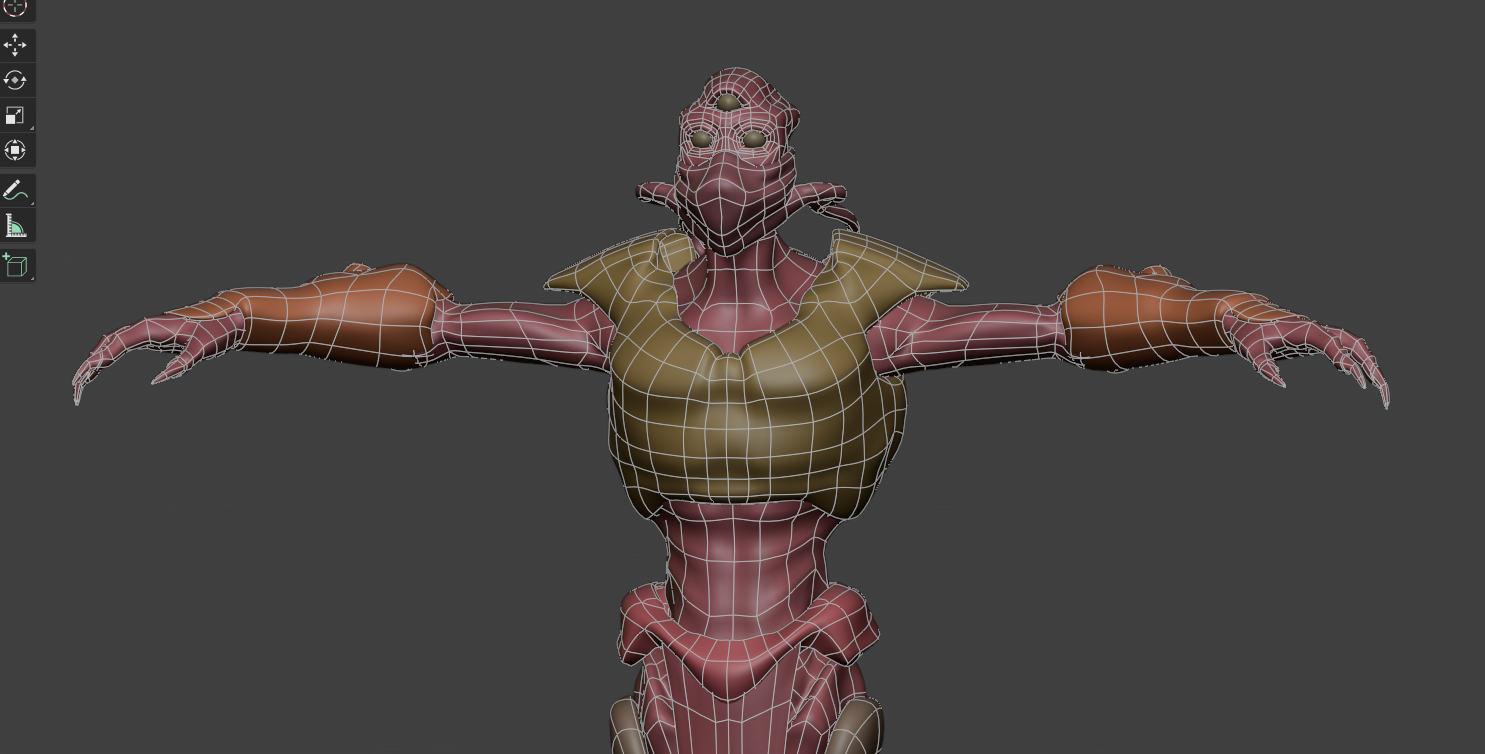
The retopo at the end is not perfect either, to actually look like it does in the wireframe above it depends on a subdivision level higher to what we actually desire, so a lot of it is unnecesary polygon density that I can't really fix until the modifiers are applied, so I can go ahead and manually dissolve problematic/unnecesary loops.
Texturing!
This is arguably the step I enjoy the most, but also the one I get to skip over a bit; the thing is, I already had made textures for this guy back in 2021 and I don't really like deleting substance files.... So I:
- Open the original substance file
- Get all layers into a folder
- Make a new smart material
- Make a new file
- Use the previously created smart material
Ta-da! Now I've "textured" the armor again. Obviously the armor is all messed up, since drawing and masks are mismatching and I forgot to name most layers...
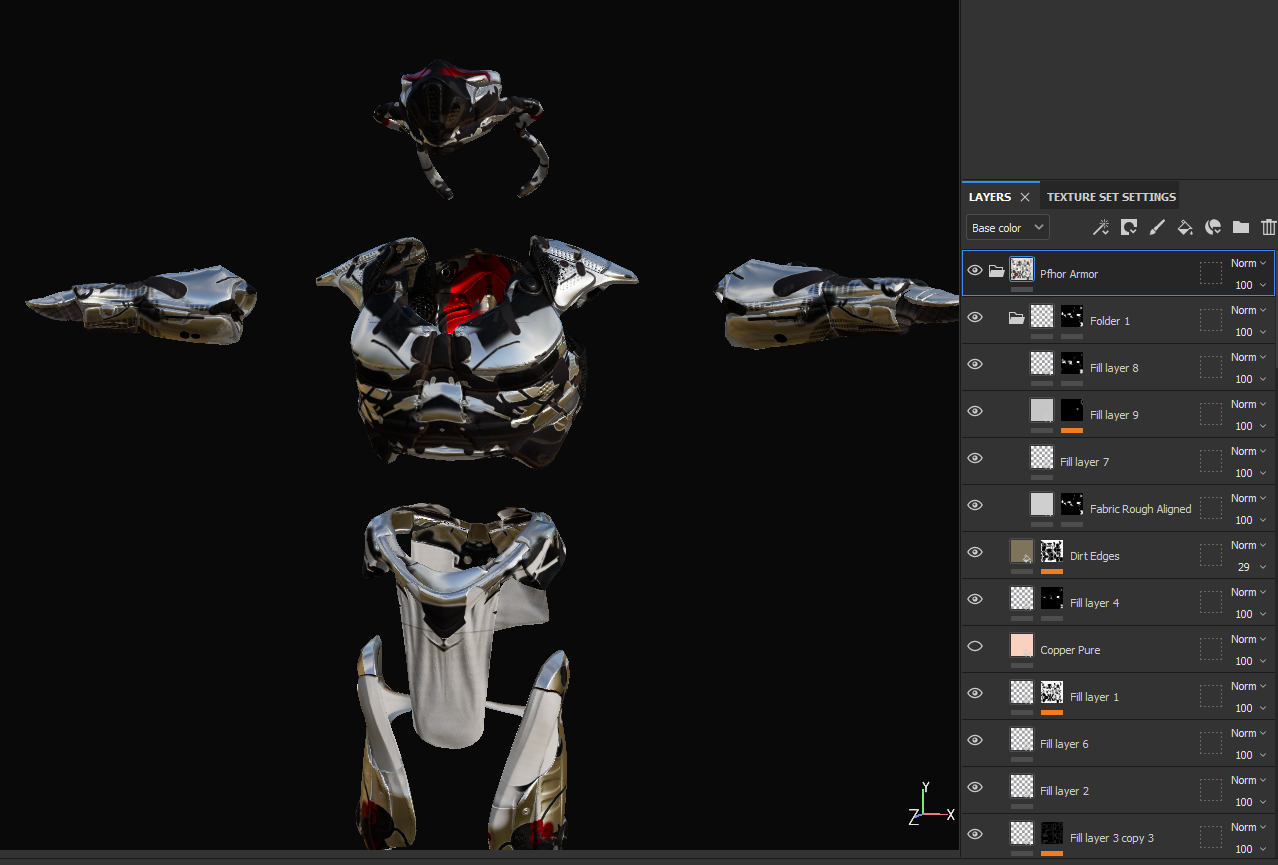
This means that I need to do a lot of cleanup, and figuring out why some stuff does things I no longer remember.
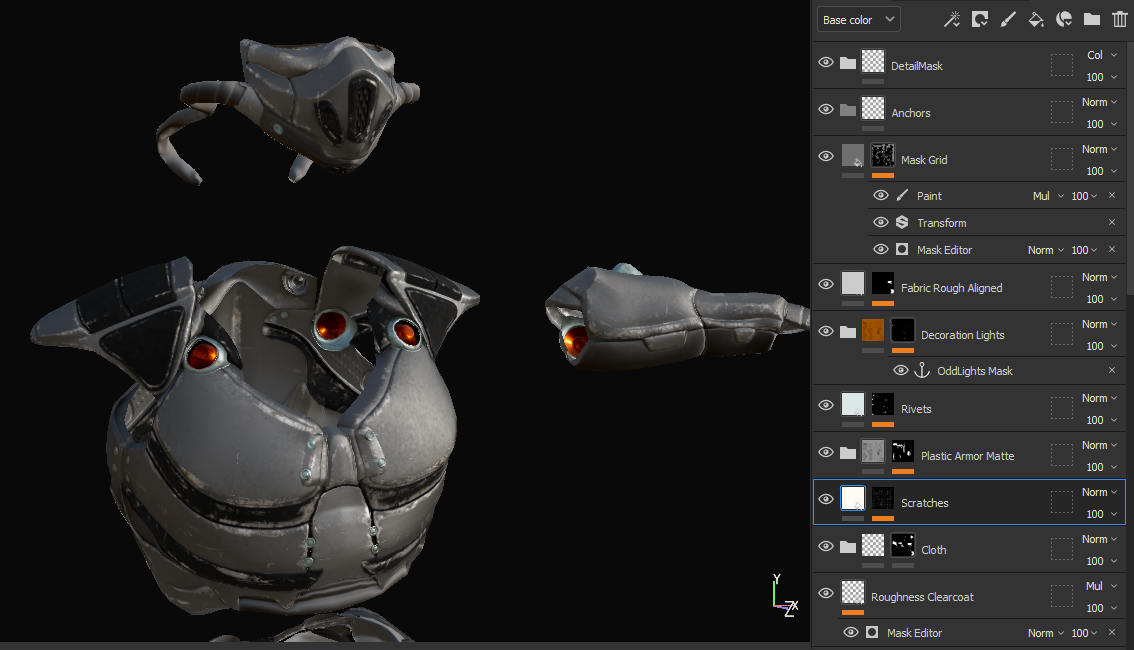
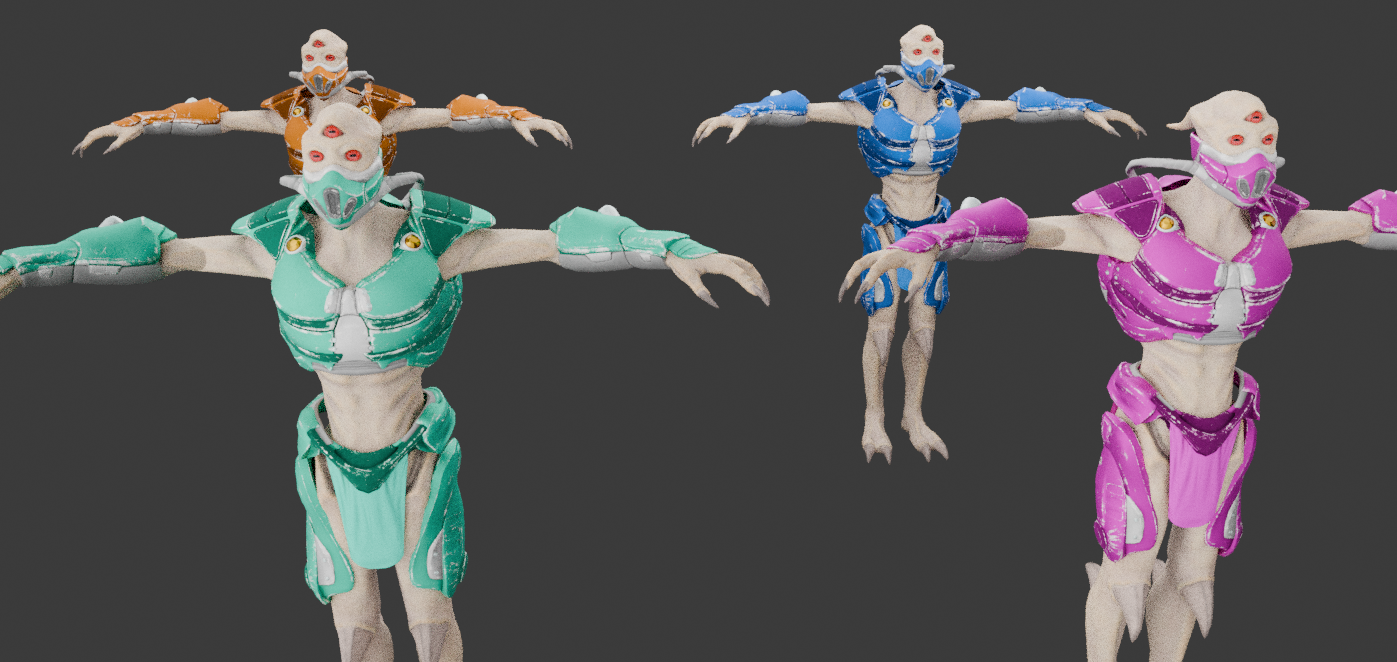
At the end, I use a custom export, that makes my life much easier, it outputs an albedo, normal maps, ORM (Occlusion, roughness, metallic) and a color mask, that will allow me to have variants in game
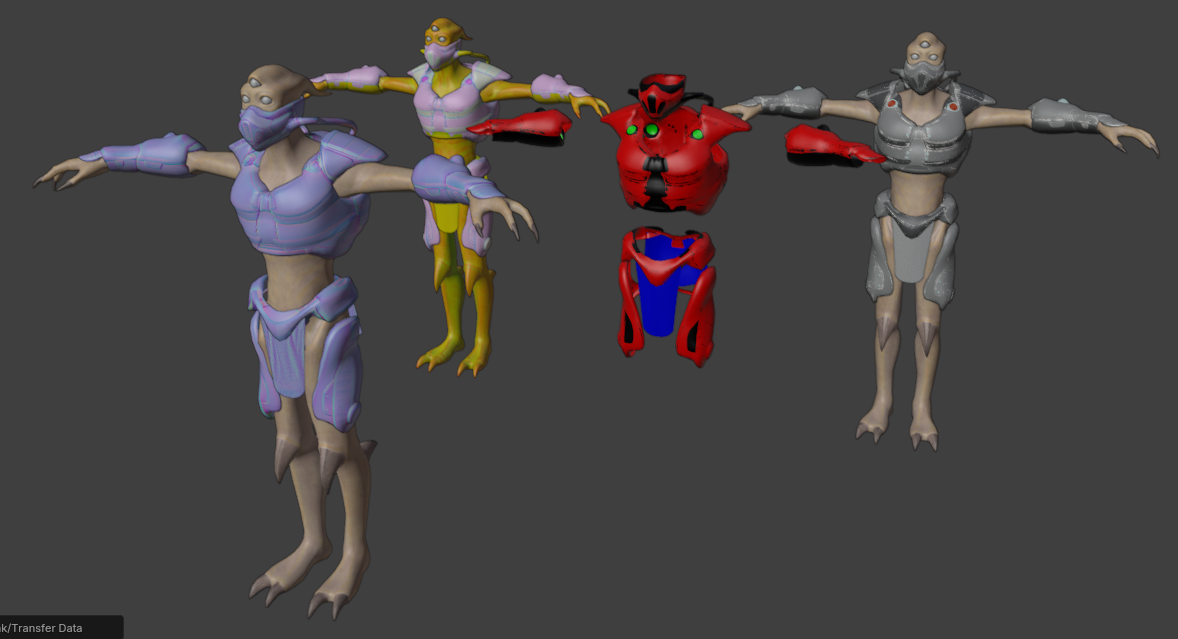
In practice, it helps me achieve many colorful variations!
Next up, I'd probably rig and move to Godot these poor bastards, but that's something I have no time budget for.
If I do anything else with these, you'll know!
Comments ()